Tired of seeing the same boring cat toys and furniture when you visit pet stores? You can make unique toys and furniture that your cat will love and your friends will envy.
DIY Cat Wand
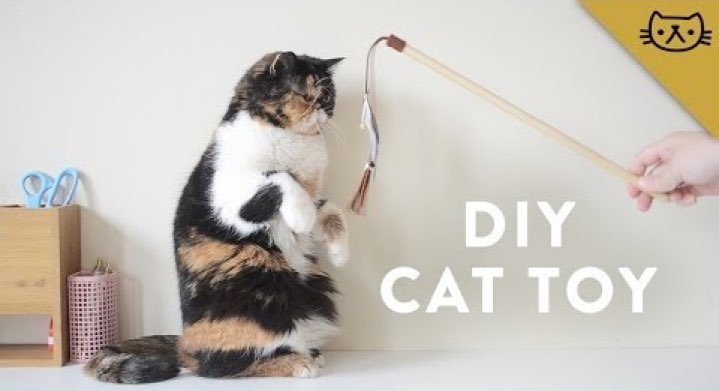
A cat wand brings out your cat’s natural instinct to hunt. The wand can have feathers, tassels, or a squeaky toy on the end that your cat chases all around the house. Making your own is easy; just make sure that you don’t use any pieces that are so small, they could be a choking hazard.
What You’ll Need:
- Wooden dowel, ¼-inch wide and one to three feet long
- Leather or suede cord or laces
- Items to attach to the bottom of the cord. Your choices are just limited by your imagination. Consider colored pompoms, felt cut into the shape of feathers, fake feather boas, or tassels.
- Construction string
- Scissors, glue, and pliers
Cut your leather cord or lace to the length you want hanging off the dowel. Next, attach the toys you’ve chosen to the end of the leather cord. If you’re using a tassel or a toy on a string, clamp it onto the end of the cord with pliers.
If you’re using a feather boa, cut about a foot of the boa along with ribbons of similar length. Glue the pieces to the end of a bracelet clasp and close the clasp with pliers. Thread the leather cord through the clasp.
There are two ways you can attach the leather cord to your dowel. You can glue the cord to the end of the dowel or you can drill a small hole at the bottom of the dowel and thread the cord through the hole.
DIY Cat Scratching Post
Cat scratching posts are a MUST for any cat owner. Making them yourself can save money and allow you a little extra creativity.
What you’ll need:
- Sisal rope ¼” thick and 150 feet long
- 4×4 wood beam, about two to three feet tall
- A mat or carpet to cover the base
- A piece of square or round plywood for the base
- Staple gun, hammer, nails or screws
If you want to go really rustic, use a tree limb about the same size as a 4×4 beam instead. If you want a prettier post, dye the rope to create a color-blocked look.
Wrap the rope around the entire length of the beam, stapling the sides about every 10 turns. Then cut the carpet to the size of the plywood and cut a square out of the center of the carpet that matches the size of the 4×4. Glue the carpet to the plywood. Fit the wood into the square, flip over, and screw or nail the bottom of the beam into place. Voila! You have a cat scratching post!
DIY Cat Tree
Cat trees come in variety of designs and heights. Yours can have a cat bed installed on it, a tunnel your cat can climb through, a scratching post, or more. Sketch out your cat tree so you know exactly what you’ll need to build it, how tall each piece will be, and where everything should be placed. Use beams of different heights so your cats can jump from one level to the next.
Items you’ll need will likely include:
- A 12-inch diameter cardboard tube or PVC water pipe for a tunnel or cat bed
- Plywood for a sturdy base, along with extra plywood for each level
- 4×4 beams and sisal rope for scratching posts that connect the different “stories” of the tree
- Carpet, fake grass, or fake fur
- A saw, hot glue gun, drill, hammer, and nails
First, make the base. Measure where the beams will go and cut holes in the carpet or fake grass to fit the beams. Glue the carpet or grass onto the base and nail the beams in place. Do the same for each level of the cat tree. Cover the beams in rope or carpet, so they can double as scratching posts.
To make a cat bed, saw the cardboard tube in half and glue the two halves together. Cover in carpet or fake fur. Do the same to make a tunnel for the cat to crawl through. Nail each bed or tunnel onto a piece of plywood and mount onto the beams. You’ll have a cat tree that your cat will want to play on all the time!
With a little creativity and some elbow grease, you can make unique toys for your cats and save money in the process. Your cats will appreciate the variety and you’ll be able to brag to your friends about your impressive carpentry skills.